

Module 1
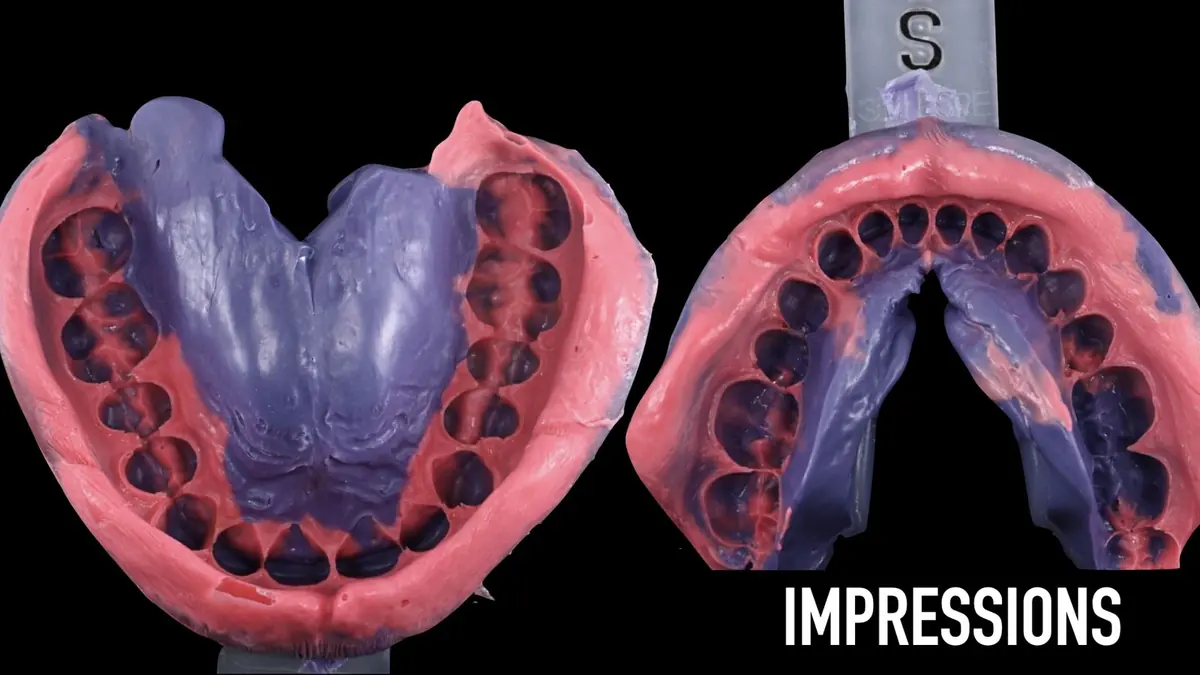
Reading the Impression
Margins, occlusal surfaces and soft tissue. What the impression captures is the ceiling for everything after it.

A Stribe online course
From impression to refractory die. The lab work behind every ceramic veneer, with dental technician Mateus Dal Bello.
Inside the course


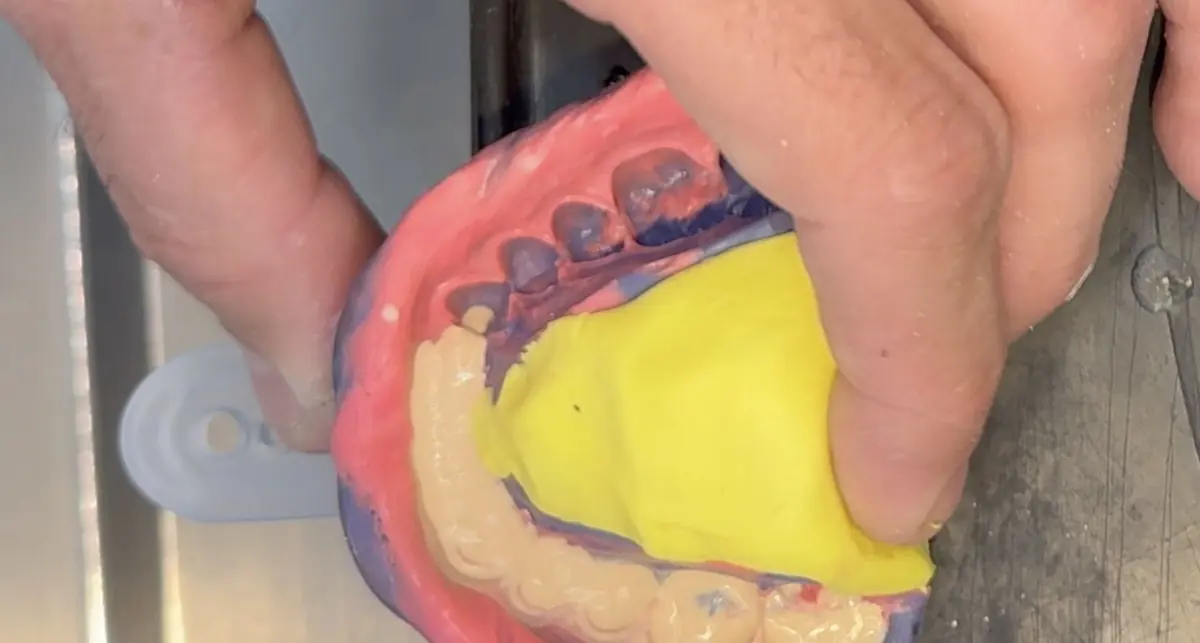
Type IV stone, mixed under vacuum and poured in small increments on the vibrator.
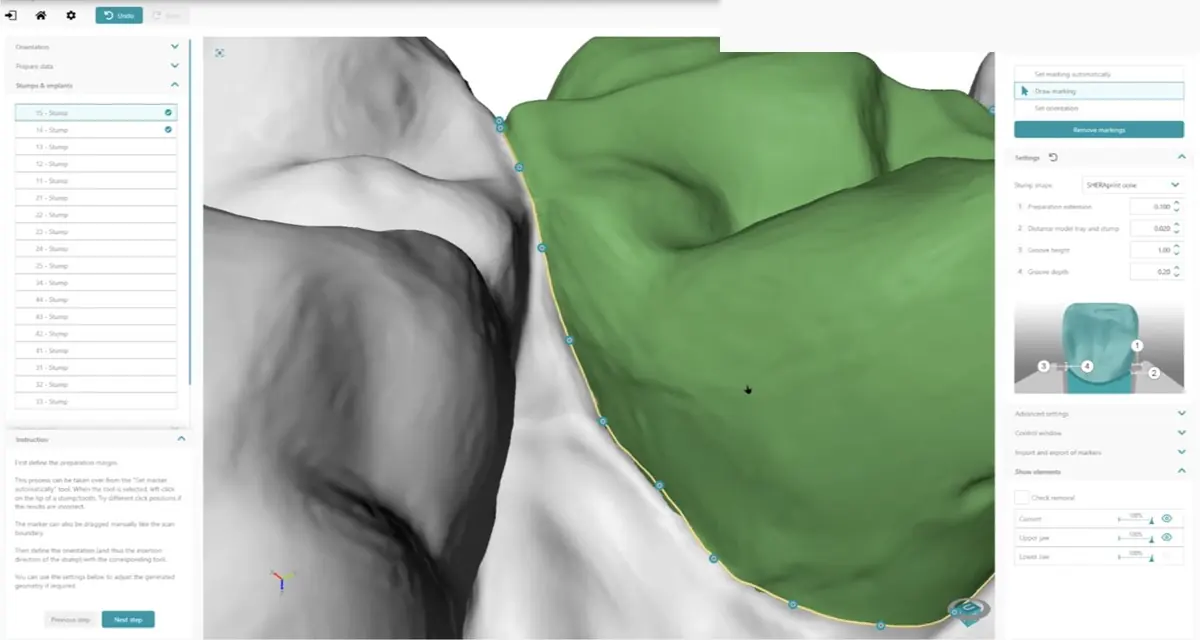
The cleaned model is scanned, and every margin is traced on the digital model.
Silicone parts A and B, mixed one to one under vacuum.
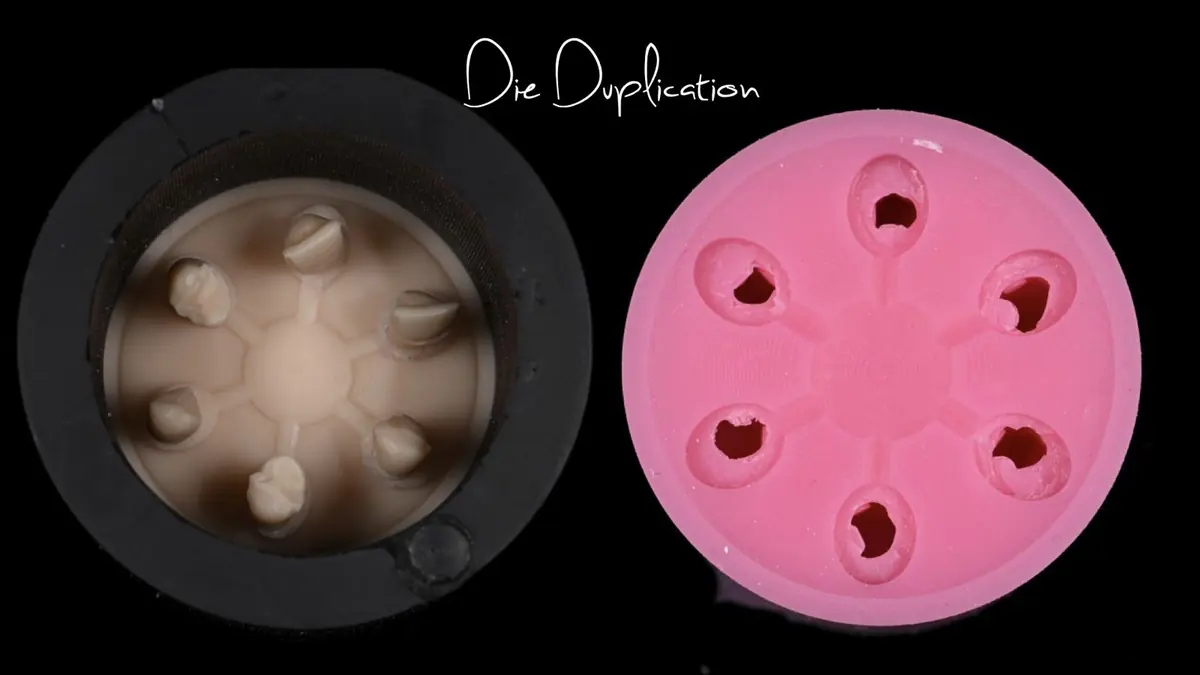
Silicone poured over the printed dies. Its mold becomes a refractory die that holds its shape in the oven.
Every ceramic restoration starts on a model. If the model is off by a fraction, the veneers will not seat, no matter how well they are layered. The Master Model follows one case through the lab, from the impression to the refractory die.
See what happens to your impression after it leaves the office, and what the lab needs from you to deliver veneers that seat.
A clear, repeatable workflow from stone model to digital model to refractory die.
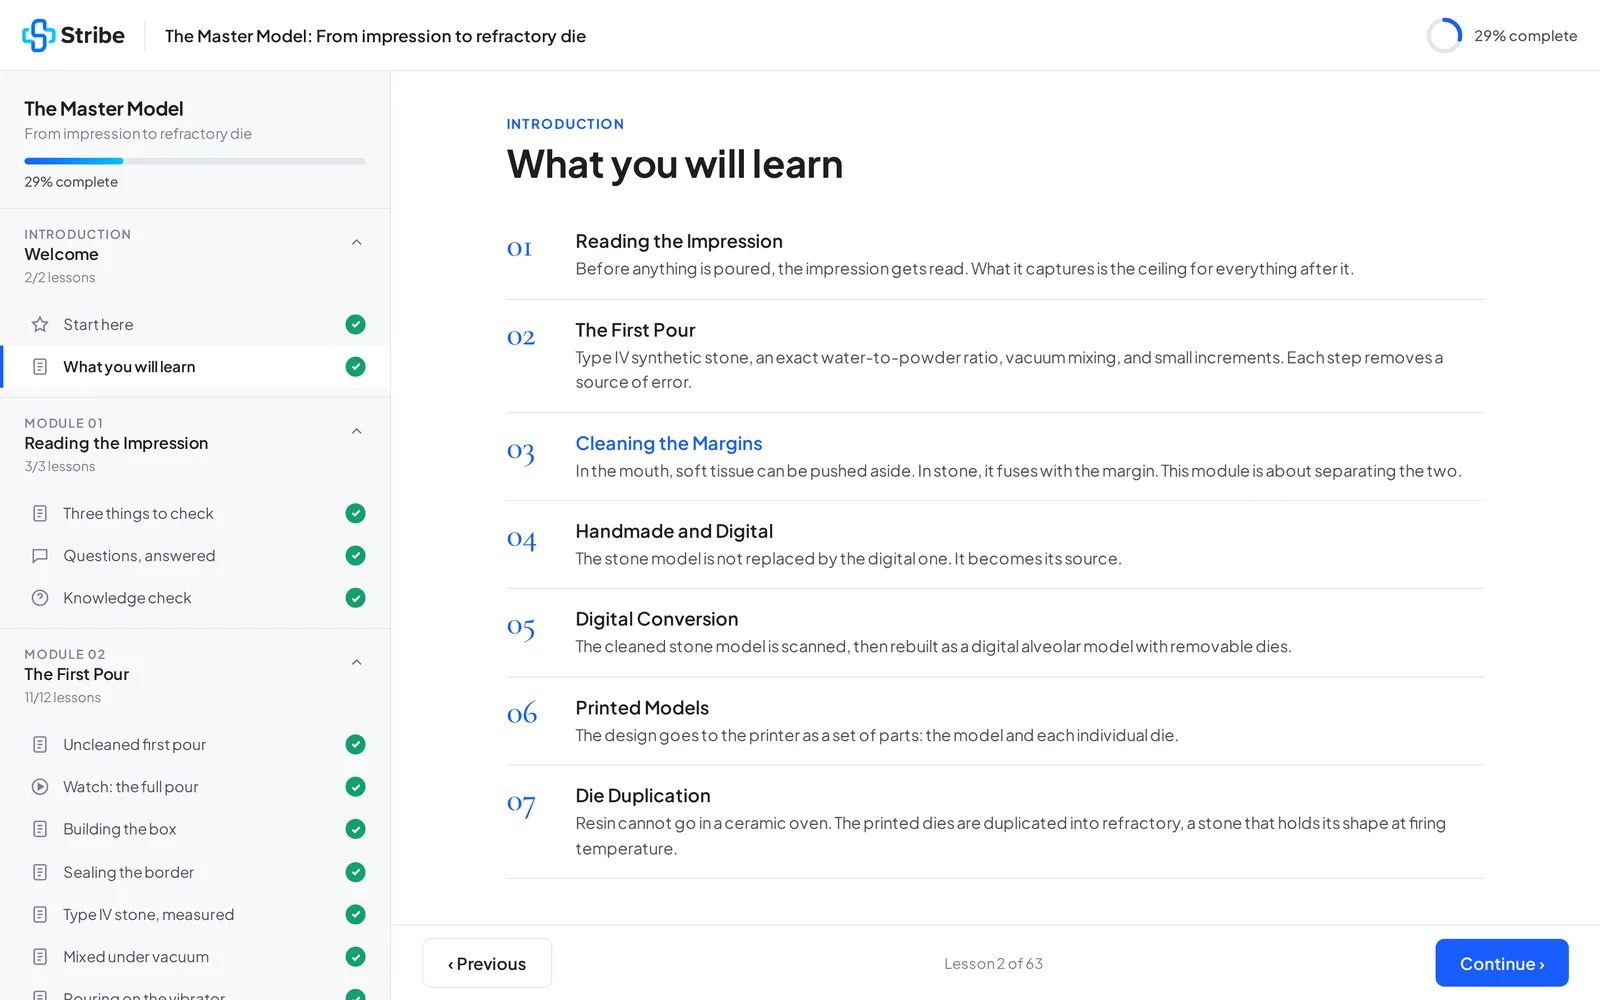
What you’ll learn
Each module ends with questions answered and a short quiz. The course closes with a final assessment.
Module 1
Margins, occlusal surfaces and soft tissue. What the impression captures is the ceiling for everything after it.
Module 2
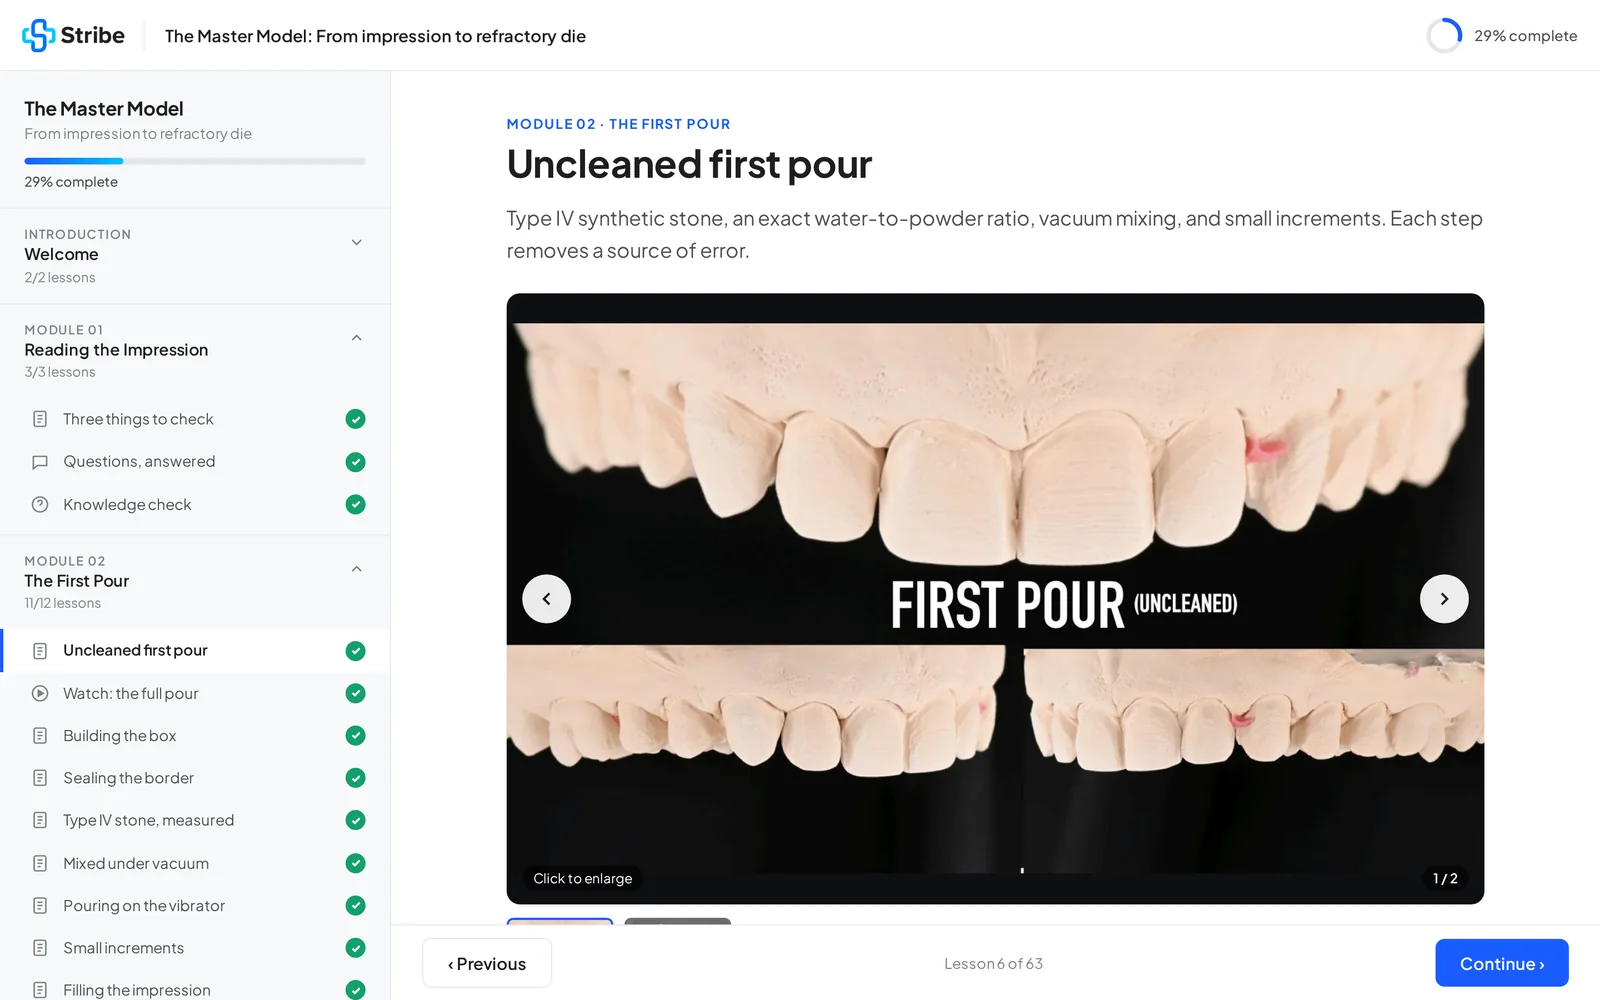
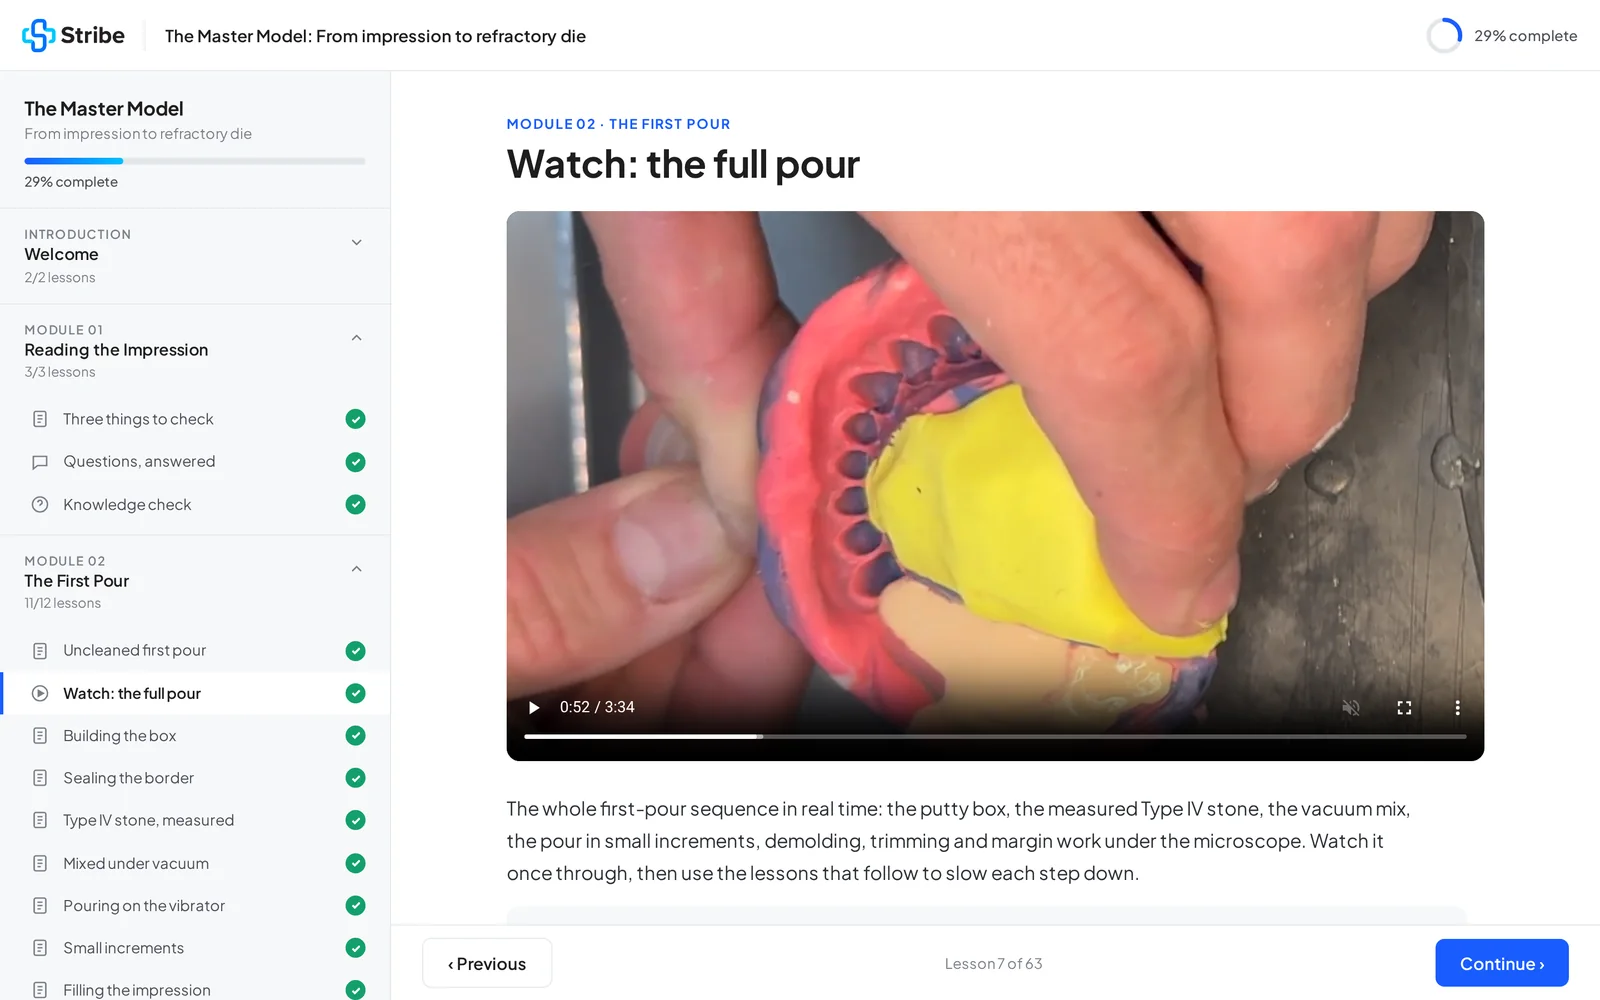
Type IV stone, an exact water-to-powder ratio, vacuum mixing and small increments on the vibrator. Includes the full pour video.
Module 3
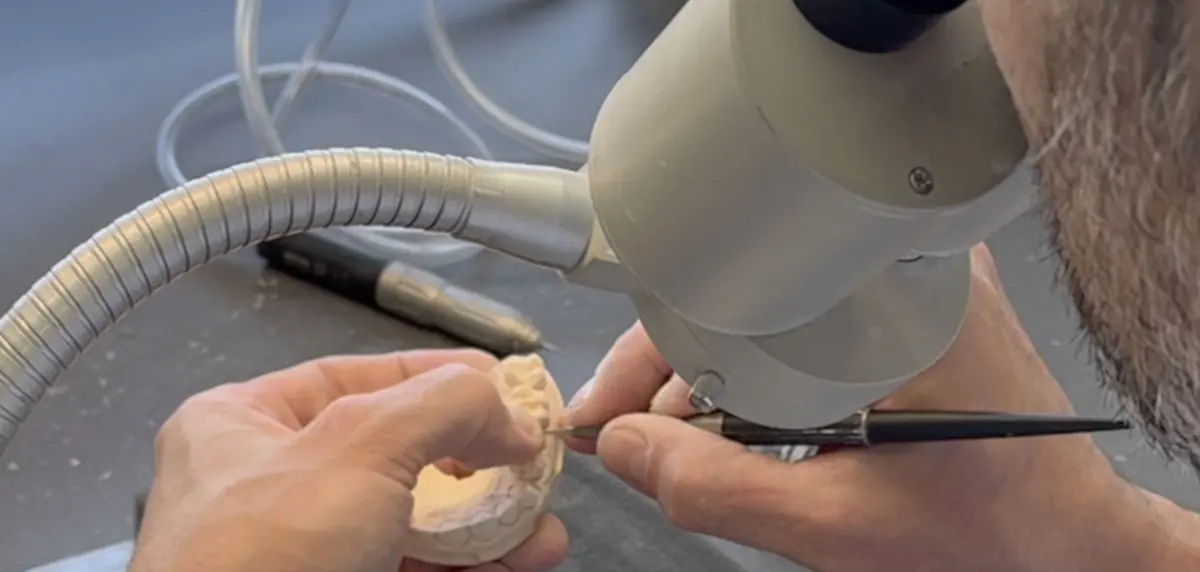
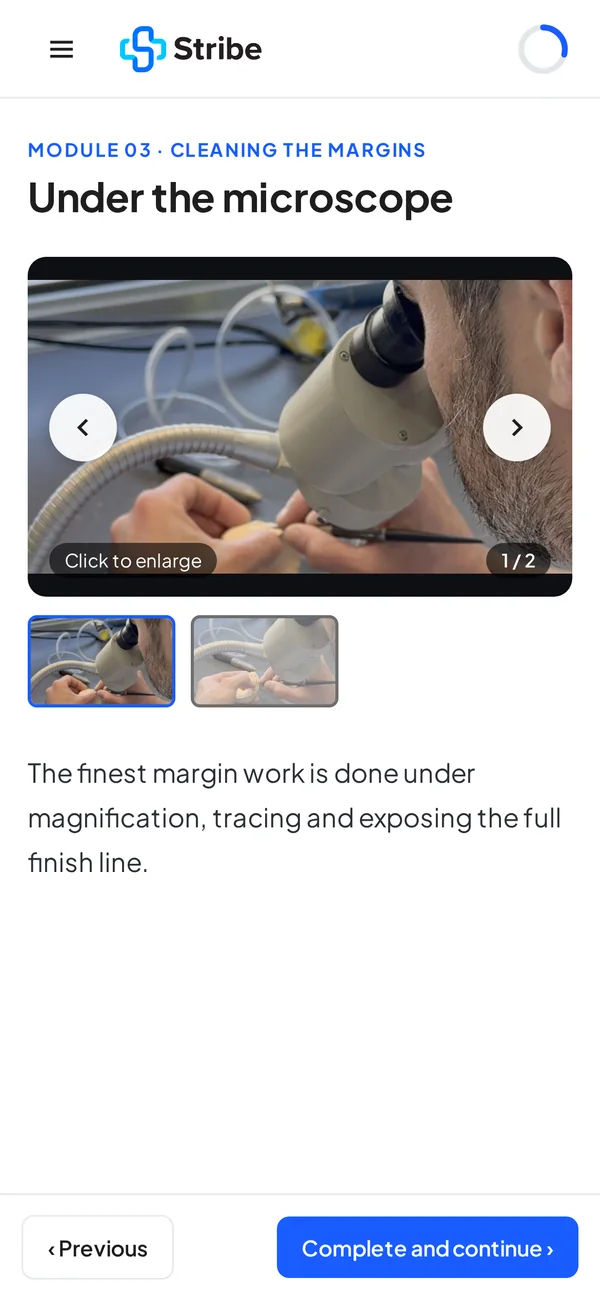
Separating stone from soft tissue with a number 11 blade, creating space for ceramic, and refining under the microscope.
Module 4
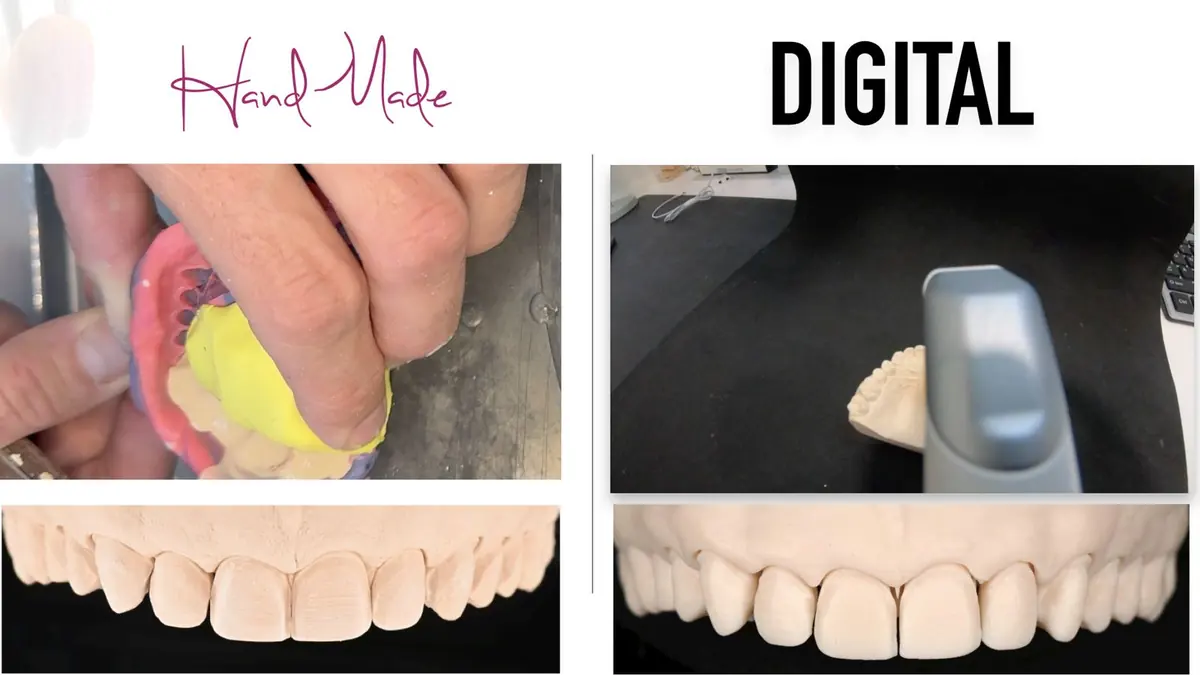
Why the stone model is not replaced by the digital one. It becomes its source.
Module 5
Scanning the cleaned model and rebuilding it as a digital alveolar model with removable dies. Includes the CAD margin video.
Module 6
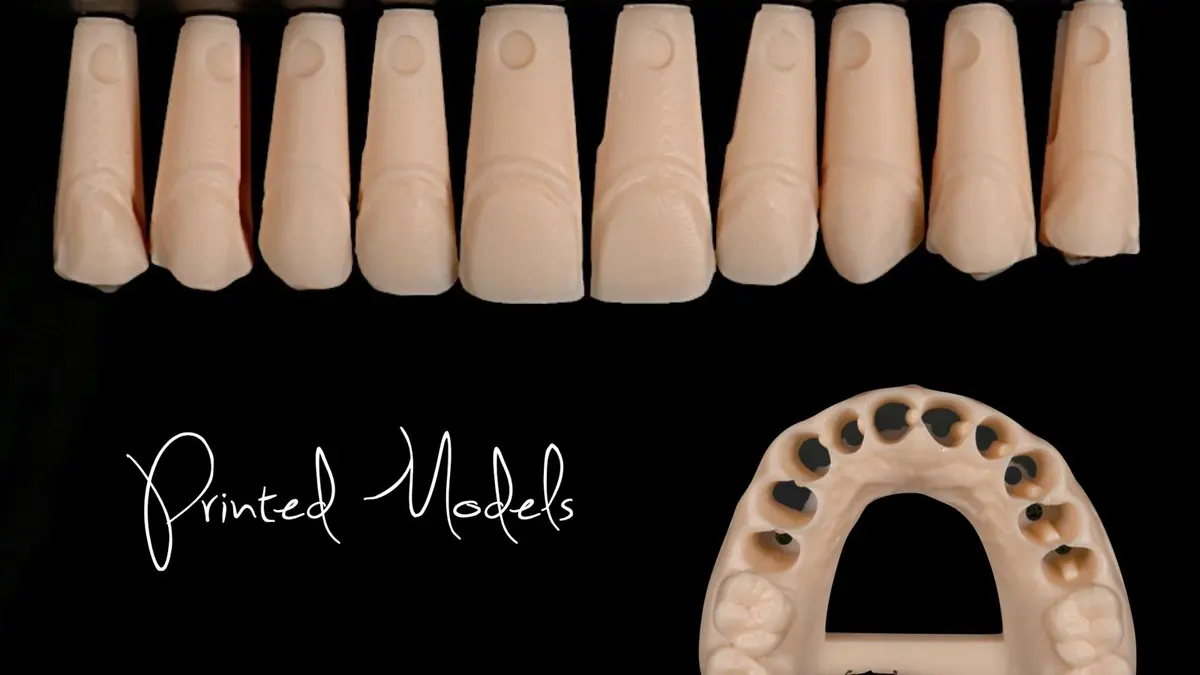
Sending the design to the printer as a set of parts, then washing and curing the PMMA model and each die.
Module 7
Resin cannot go in a ceramic oven. Silicone duplication and refractory dies that hold their shape at firing temperature. Includes two videos.
To finish
Close the course with an assessment across all seven modules, with an explanation for every answer.
Buy · $500
Each step removes a source of error. That is the whole method.
Your instructor
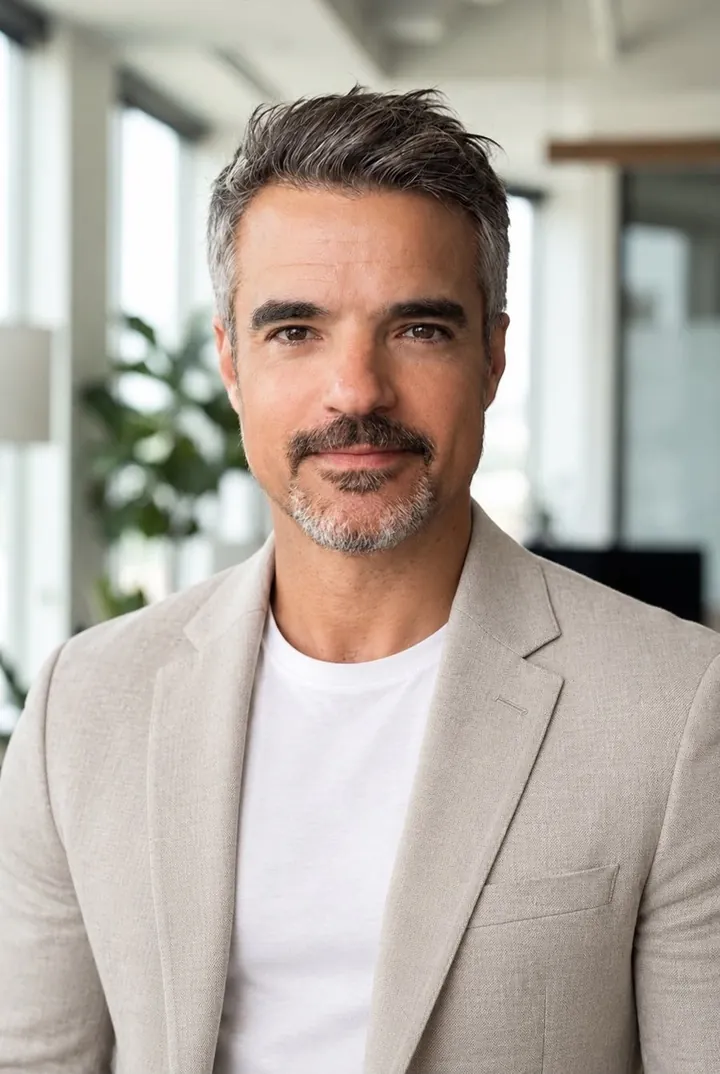
Head of Model Creation & Digital Systems, Apa Aesthetic
With over a decade of experience in Brazil and the United States, Mateus Dal Bello specializes in digital dental technology, CAD/CAM systems, 3D model fabrication, implant-guided surgical planning, and advanced SHERA model systems. At Apa Aesthetic in Los Angeles, he develops the precision-driven workflows behind the practice’s aesthetic and restorative outcomes.
What’s included
One real case, followed from the impression to the refractory die.
Every step shown from the bench, with a written explanation beside it.
The first pour, CAD margin marking, silicone mixing and the duplication pour.
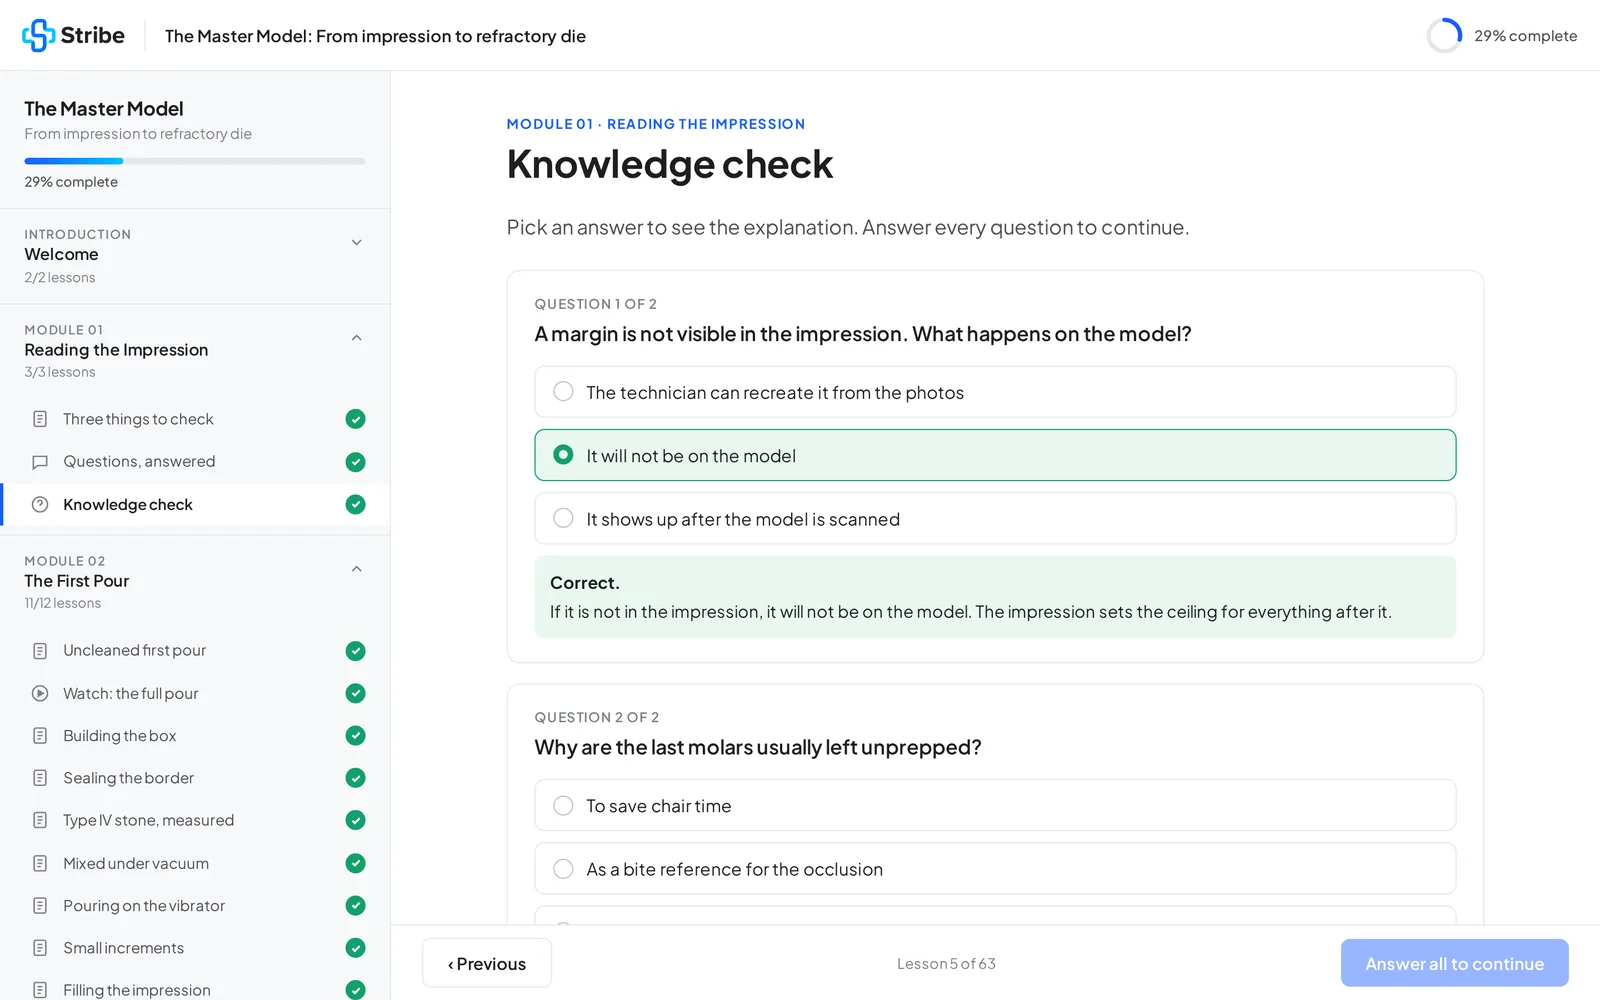
Questions answered in every module, a short quiz with explanations, and a final assessment.
Your progress is saved as you go, so you can pick up where you left off.
Your access link is sent to the email you use at checkout.
Dentists who want to understand what happens to their impression after it leaves the office, and what the lab needs from them to deliver veneers that seat. And dental technicians who want a clear, repeatable workflow from stone model to digital model to refractory die.
Check out securely through the Stribe store. Your access link is sent to the email you use at checkout. Open it on any device and start with Module 1.
Yes. There are no live sessions or set times. Move through the 63 lessons at your own pace; your progress is saved as you go.
Full-screen slides from one real case with a written explanation for each step, questions answered, and a short quiz with explanations. Modules 2, 5 and 7 include process videos from the lab bench. The course closes with a final assessment.
Mateus Dal Bello, Head of Model Creation & Digital Systems at Apa Aesthetic in Los Angeles, walks through the workflow, from impression to refractory die.
$500, paid once through the Stribe store.
Email contact@stribe.dental and the Stribe team will get back to you.
From impression to refractory die. Self-paced, on any device.
$500One-time